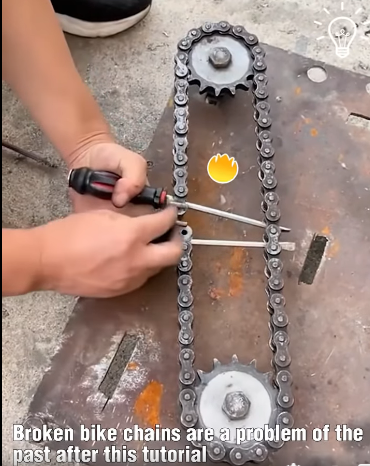
A broken or slipping bike chain can bring any ride to a sudden halt, but fixing it is simpler than it seems. This guide breaks down how to repair a bike chain efficiently, ensuring you’re back on the road in no time.
Step 1: Identify the Problem
First, inspect the chain for issues such as breaks, kinks, or excessive wear. If the chain has snapped, you’ll need to reconnect or replace the broken link.
Step 2: Gather Your Tools
To fix a bike chain, you’ll need:
- A chain tool (chain breaker)
- Master link or replacement chain link (optional)
- Gloves (to keep your hands clean)
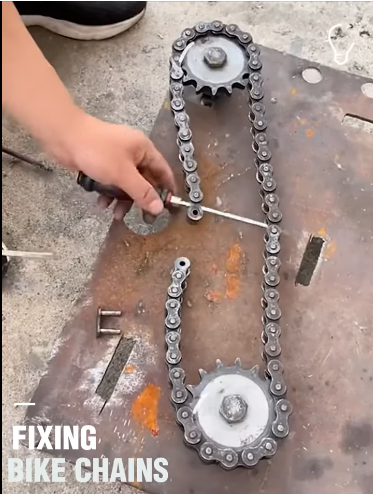
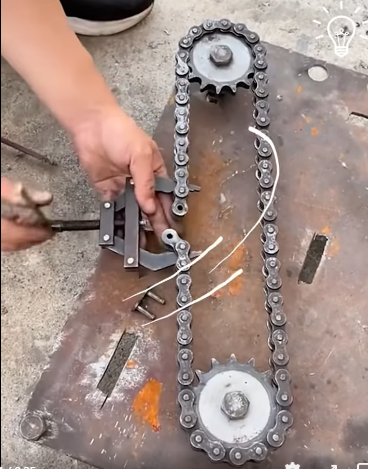
Step 3: Remove the Damaged Link
Use the chain tool to push the pin out of the damaged link carefully. Ensure you don’t push it all the way out, as you’ll need to reconnect the chain.
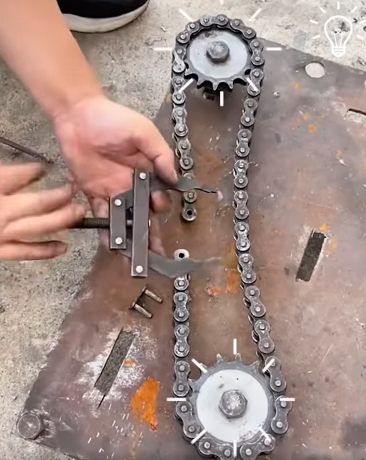
Step 4: Reconnect the Chain
Position the chain ends together and use the chain tool to press the pin back into place, securing the link. If using a master link, insert it between the ends of the chain and lock it into place.
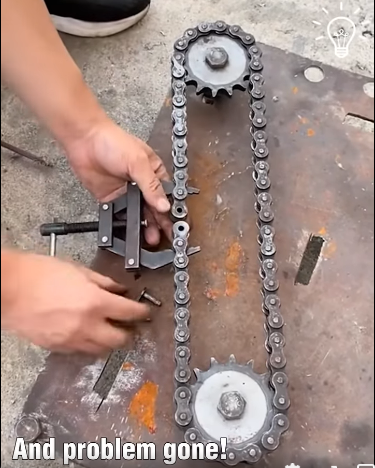
Step 5: Check for Smooth Movement
Once reconnected, move the chain through the gears to ensure it runs smoothly. If it sticks or clicks, double-check the link to make sure it’s correctly aligned.
Final Tips
Keep your bike chain clean and lubricated to prevent future issues. Regular maintenance extends the life of your chain and ensures a smoother ride.
With these simple steps, fixing a bike chain can be a straightforward task, leaving you more confident to handle minor repairs and enjoy your rides without interruptions.